
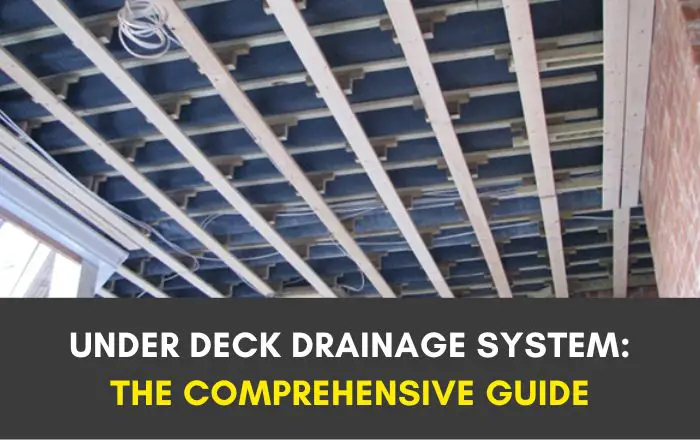
If you have a raised deck, especially one that’s on a second story, think about putting in a simple under-deck drainage system.
This system stops rainwater from pooling under your deck. Instead, the water gets directed into gutters. This keeps the space under your deck dry and usable.
An under-deck drainage system helps to protect the wooden structure of your deck from moisture, which can lead to wood rot and decay.
By moving water away from your deck, this system helps to keep your deck in good shape for longer. It prevents problems like rot, mold, and other damage that can affect the strength and safety of your deck.
Guide to Deck Drainage Systems
Deck drainage systems are mainly of two types: those installed above the deck joists and those placed below them. It’s best to put in a drainage system when you first build your deck, but you can still add one to an existing deck.
There are three main places where these systems can work: on top of the deck’s surface, between the deck boards and the beams, or under the joists.
Some systems fit between the deck boards to stop water from going under the deck. Instead, the water flows off the sides of the deck or into a gutter along the edge.
No matter which drainage system you choose, it will help you have a dry space under your deck. This area can be used for many things and will last a long time.
If you’re building a new deck, consider adding a drainage system to make the most of your investment. Once it’s in place, you can use the area under the deck as a dry, protected space.
Why Install an Under Deck Drainage System?
An under deck drainage system is great for keeping your deck in good shape for many years. Here’s why it’s useful:
It reduces the chance of algae and moss growing on your deck because of wet wood, and prevents the wood from rotting.
It keeps your deck from getting flooded during heavy rain.
With a good drainage system, the space under your deck stays dry, so you can use it for different things, even when it rains.
It makes the area under your deck safe for installing things like gas and electric fittings. You can buy a kit and set it up yourself, which is affordable and easy.
Advantages of Building an Under Deck Drainage System
For those building a second-story deck, adding a drainage system is a smart move. Here are some big benefits:
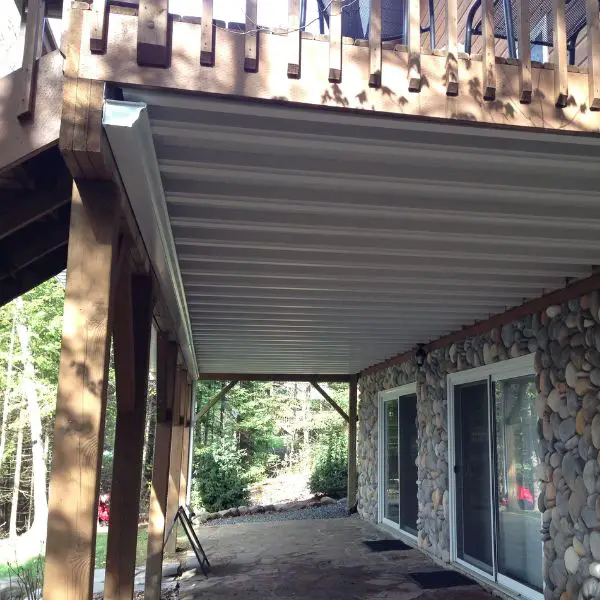
Create a Dry Outdoor Living Space
The system drains water off the deck into a gutter system. This creates a dry area under the deck, doubling your outdoor living space.
Once installed, you can add lights, fans, or make it into an entertainment area. You can also use it for storage.
Protect the Deck’s Structure
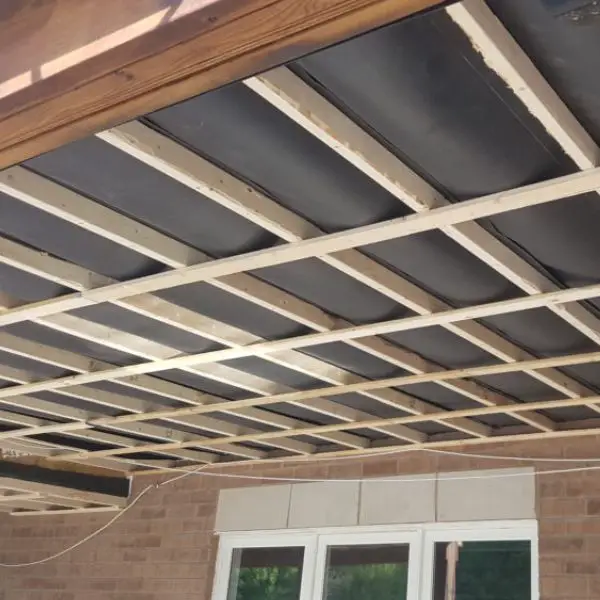
Different systems protect the wood of your deck. Some use a special material over the joists to keep water out.
This helps prevent wood rot and decay, making sure the deck’s structure lasts as long as the deck itself.
Enjoy Your Outdoor Space, Rain or Shine
Having a dry area under your deck means you can enjoy the outdoors even when it’s raining. No need to cancel outdoor plans because of the weather.
More Profit for Builders
Builders can make more money on a deck project by including an under-deck drainage system. It adds value without needing extra workers.
This can be a big boost for a builder’s business over time.
Easy Steps to Install an Under Deck Drainage System
Getting Started with Deck Drainage Installation
Choose the Right Time
The best time to install a deck drainage system is during the construction of your deck. This system will keep the joists and timbers dry by diverting water away.
Prepare for Installation
If you have a wooden or composite deck, this system will cover and protect the entire structure underneath. You’ll use troughs that fit within the joists and lead into downspouts.
Adjust to Your Deck’s Shape
Sometimes, decks have unique shapes or obstacles. You might need to customize the pipes and downspouts to fit these special features, but the basic process is the same.
Install Pipes and Downspouts
Set up the pipes and downspouts so they direct water to the gutter. Seal all the joints with butyl tape to prevent leaks.
Fit the Downspouts
These funnel-shaped downspouts fit between joists. They come in a standard size but can be adjusted for different joist sizes.
Secure the Gutter
Install a gutter at the edge of the deck. Attach downspouts inside each joist bay and fix them with staples.
Lay the Drain Panel
Let the drain panel relax before you start. Fold it in half lengthwise to create a channel for water. Tuck one end under the ledger flashing and staple it in place.
Staple the Trough Panel
Attach the trough panels to the joists. Keep them tight as you staple them. Fold the material back at the downspout to fit snugly.
Ensure Proper Water Flow
Staple the trough panels according to the instructions, creating a slight slope for water drainage. Test each trough with warm water to make sure it drains properly.
Deal with Special Deck Areas
For angles or cantilevered sections, you might need to make short trough sections. Make sure they slope towards the main trough.
Seal with Butyl Tape
Use butyl tape on the ends of the troughs, pressing it firmly to create a tight seal. Wrap the tape around the downspouts’ edges too.
Install Overhead Fixtures
If you want, you can now add fans or other fixtures above. The system keeps the area below dry.
Final Touches
Build a gutter under the downspouts using materials like PVC, aluminum, or steel. Ensure it slopes slightly for water to drain towards the downspout.
Decking Installation: You can use hidden fasteners or screws for the decking. Avoid using nails, as they might not seal properly.
Simple Ways to Waterproof Your Deck
Using Floor Flanges for Waterproofing
Rainwater usually drains through the gaps between deck boards. To keep the area under the deck dry, you can use rubber flanges. These fit into the gaps and work like gutters, directing water to the sides of the deck.
Sometimes, you might need to trim the deck boards to fit the flanges. If not installed correctly, they might not last long.
Installing Under-Deck Ceiling Systems
These systems are set up under the deck boards. They use plastic or metal panels to collect and move water away.
However, water still goes through the deck boards and over the wood joists, which might cause rot over time.
Below-The-Joist Deck Drainage System
This involves installing metal or vinyl sections under the deck joists. They create a slope to direct water into a drain, which then moves it away.
It’s easier and cheaper than other methods, and you don’t need to take apart the deck to install it.
But, it has downsides: it can expose the wood to constant water, trap moisture, and lead to wood rot in hot weather.
Over-The-Joist Deck Drainage System
This system places drainage lines above the joists. It uses materials like latex, PVC, or rubber to catch water that seeps through the deck boards and direct it to gutters.
This is the best way to protect the structure of your deck from water damage. It’s better for new decks because it’s hard to install on existing ones. You’d have to remove and replace the deck flooring to put in this system.
When building a new deck, consider an over-the-joist system to make your deck last longer.
Using Wall Flash for Deck Protection
When building your deck, think about protecting any wood that’s exposed to the weather. You can use
Wall Flash, which is a self-adhesive material that creates a waterproof seal between your house and the ledger board (the board that connects your deck to your house).
Wall Flash is a good investment for new deck constructions as it helps to extend the deck’s life.
Choosing the Right Under-Deck Drainage System
For decks, you can install drainage systems either above or below the joists.
Systems installed above the joists protect them and the fasteners from water damage, helping to prevent rot and corrosion.
On the other hand, systems installed below the joists don’t offer the same protection. Water still touches the joists, and the panels might trap moisture, speeding up wood decay.
With below-joist systems, it’s tough (sometimes impossible) to install things like fans, lights, or other electrical fittings in the space under the deck.
When planning your deck, consider these options to ensure it stays in good condition for a long time.
Cost of Under Deck Drainage Systems
When it comes to under deck drainage systems, prices can vary a lot. The most budget-friendly option is using corrugated panels, which cost around $1 per square foot.
So, for an average-sized deck, this might come to about $300. However, if you’re looking at branded systems, the cost can jump to anywhere between $4 and $9 per square foot.
The cost difference often comes down to whether you’re installing an above-joist or below-joist system. Above-joist systems, typically used in new deck constructions, tend to be cheaper than below-joist systems.
Remember, these costs don’t include the price of adding a finished ceiling, which you might want to consider if you’re using a system that leaves visible plastic or rubber parts.
Is it Worth Installing an Under Deck Drainage System?
Absolutely, installing an under deck drainage system is worth it. This system keeps the area under your deck dry, giving you extra space for storage or outdoor activities.
It also adds value to your home by protecting the deck’s supporting joists from moisture, thus extending the deck’s lifespan. It’s a small investment that can offer a big return.
How to Redirect Water Under a Deck?
To effectively redirect water, install a drainage system beneath your deck. An over-joist system, in particular, is a good choice.
It involves installing membranes over the joists that catch water seeping through the deck boards and divert it away from the house through gutters at the deck’s edge.
This method ensures that the screws and fasteners stay in place longer and provides complete protection for the beams and joists against water.
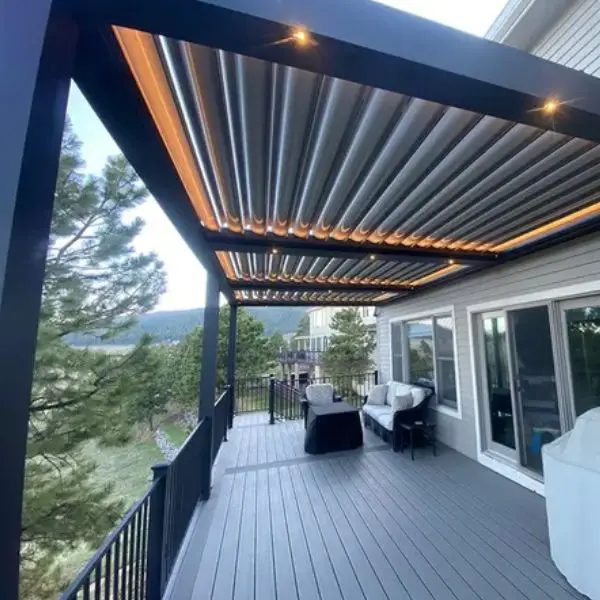
With a waterproof deck system, you can transform the area under your upper deck into a versatile outdoor living space.
You can use it for relaxing, dining, and entertaining. Adding a drainage system also opens up possibilities for installing a ceiling, lighting, and ceiling fans.
Durability of Under Deck Drainage Systems
An under deck drainage system, especially those based on membrane technology, tends to be very durable.
They can protect the deck’s joist substructure from mildew, rot, and decay for about 8 to 10 years. Considering that the average deck is designed to last 25 years, investing in a good drainage system is a smart choice to ensure that the deck’s foundation remains solid for as long as the deck itself.
Final Thoughts
Under deck drainage systems have become a popular choice for improving decks. They work by catching water and sending it to a drain at the edge of the deck. This keeps the space under the deck dry, making it great for outdoor living or storage.
These systems are designed to stop rain from getting through the gaps in the deck above. You can add them to an existing deck or install them in a new deck as it’s being built.
Systems that are installed above the deck joists do more than just keep the area below dry. They also protect the deck’s structure from moisture, helping the deck last longer.
On the other hand, systems placed under the joists give you a nice-looking ceiling under the deck. This makes the space feel more like a finished part of your home.
Hina Kanwal is the dynamic force behind Deckfaqs.com, blending her expertise in deck design with actionable insights. Known for her engaging content and practical advice, she empowers homeowners to elevate their outdoor spaces. Her passion and knowledge make her a trusted voice in the world of deck-building.


